The aim of this project it to create a simple GUI (Graphical User Interface) for Amazon’s voice assistant Alexa.

Why Alexa GUI? In my opinion, GUI remains an essential part of any interaction between humans and machines, especially for systems with voice input, and this can be observed for example when people look at Echo device while talking to Alexa. So headless voice assistants are just like talking in the dark, uncomfortable without feedback of what the system is doing.
I did two choices:
- To do it in Python: Since I’m using the python client AlexaPi done for Raspberry Pi.
- To do it with external LCD display, instead of internal python libraries (e.g. PyQt, …)
If you want to build AlexaPi, please use its tutorial.
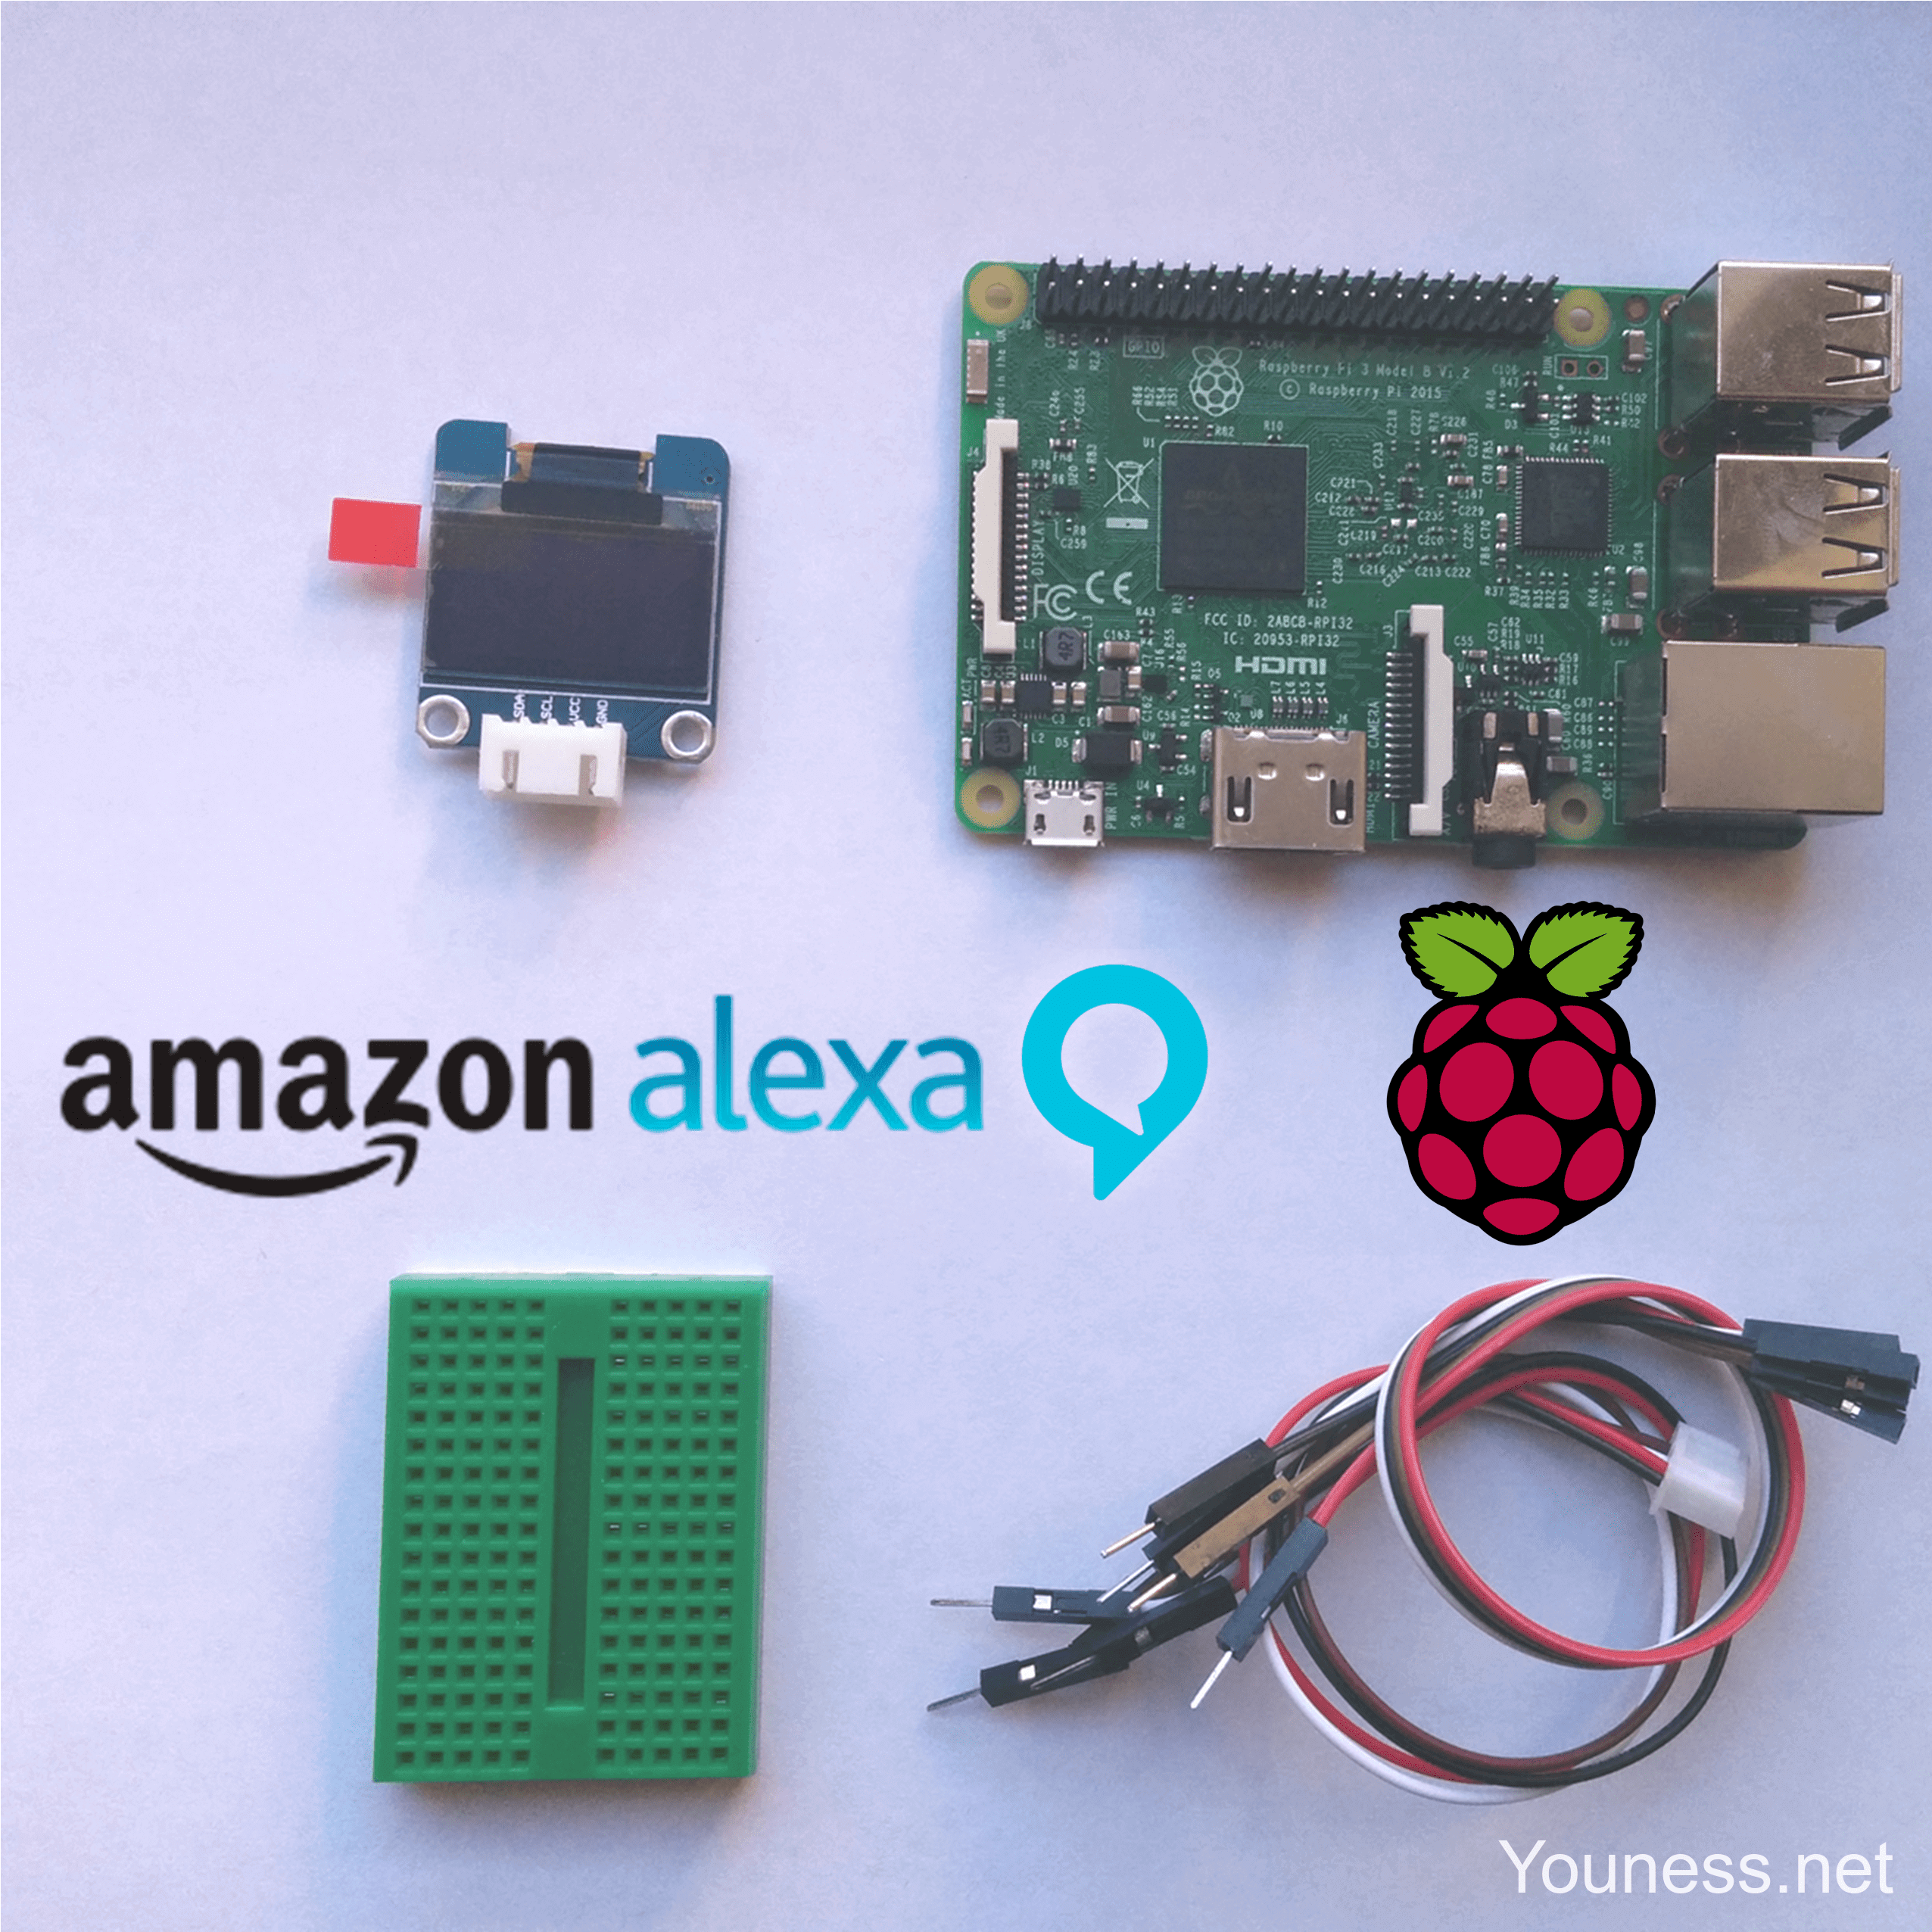
BOM (doesn’t include parts for AlexaPi) :
- Raspberry Pi 3
- 128×64 OLED LCD LED SSD1306
- Breadboard + wires (male/female)
Step 1 : Set up Raspberry Pi & Display
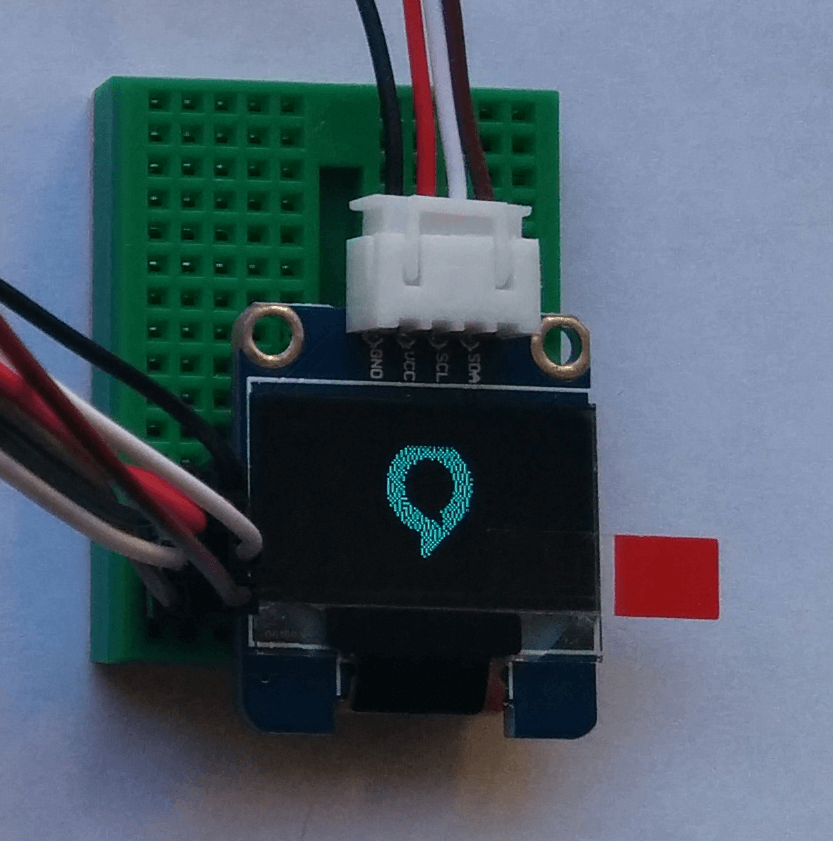
Hardware part: It uses I2C bus of Raspberry Pi, meaning two wires (SDA, SCL) + power supply:
- VCC (3V3) -> GPIO 1
- GND (0V) -> GPIO 6
- SDA -> GPIO 3
- SCL -> GPIO 5
Software part: I’m using Adafruit library, it works like a charm.
I’m also following their instructions here : SSD1306 OLED Displays with Raspberry Pi.
Install needed tools and libraries:
sudo apt-get update

sudo apt-get install build-essential python-dev python-pip

sudo apt-get install python-imaging python-smbus

sudo apt-get install i2c-tools

sudo pip install Adafruit_BBIO
Install SSD1306 library:
git clone https://github.com/adafruit/Adafruit_Python_SSD1306.git

cd Adafruit_Python_SSD1306

sudo python setup.py install
Check if I2C is enabled:
sudo i2cdetect -y 1
If not, enable it in Raspi-config.
Also turn on I2C in boot configuration:
sudo nano /boot/config.txt
And add (or uncomment):
dtparam=i2c1=on
dtparam=i2c_arm=on
Reboot.
Run image example:
python image.py
You should see image on the OLED display.
Step 2: Define Alexa states + images
I define the main states of Alexa as follow:
- Alexa Not Started (Raspberry Pi logo)
- Alexa Started (Alexa logo)
- Alexa Listening (Microphone)
- Alexa Talking (Speaker)
- Alexa Busy (Sand watch)
- Alexa Not Connected (Cloud NOK)
For each state, I create a 128×64 black and white .png image.
I make in white (or grey) the parts that I want to be in blue (Good coincidence since it is Alexa color)


Here is an example of the displayed state.
Step 3: Include display states in original AlexaPi code
Duplicate original main.py
cp main.py gui.py
Make it executable:
chmod +x gui.py
After import part, we add AlexaGUI setup:
sudo nano gui.py
I add these lines:
#AlexaGUI setup
import Adafruit_SSD1306
from PIL import Image
RST = 24
disp = Adafruit_SSD1306.SSD1306_128_64(rst=RST)
global img
At the end (before the main), I define new function:
def AlexaGUI(img):
image = Image.open(img).convert(‘1’)
disp.image(image)
disp.display()
So, anytime I want to show something, I add just the line:
AlexaGUI(image.png)
image.png to be changed with the real names.
In the setup(), I initiate the display:
#AlexaGUI init
disp.begin()
disp.clear()
And just after I display Alexa logo:
AlexaGUI(‘Alexa.png’)
You can download the gui.py file here: gui.txt
Here is a demo of the code showing 3 states of Alexa (Listening, processing and answering)
Step 4: Try to replace static images by dynamic animations
This is a difficult part for me, since I’m not a designer, and I’m using only MS Paint to edit the pictures.
So I do the animation of the speaker, by just playing with the bar levels and making 4 different .png that I show successively with a small delay (10ms):


Here is the demos:
Compared to the first demo, the improvement is noticeable, but still mechanical.So later I added other animations for microphone, Alexa thinking and speaking.
The best to do for the speaker is to mimic Alexa voice (like Hi-Fi displays), but it is an advanced feature…
For the moment I’m not doing the animation for all states. I want now to customize Alexa depending on the intent, for example when she’s saying a joke.
To be continued…
Misc
- The prompt hello.mp3 contains a silence part at the end, I cut it to make speaker animation correct.
Download it here: http://youness.net/wp-content/uploads/2016/10/hello.mp3
[…] get the most benefit. To that end, [Youness] decided to marry an OLED display to his Alexa to give visual feedback about the current state of Alexa. It is a work in progress, but you can see two incarnations of the idea in the videos […]
[…] The aim of this project it to create a simple GUI (Graphical User Interface) for Amazon’s voice assistant Alexa. (Youness) […]
congrat’s and keep us posted with your new experiments !!